.png)
Track provides oversight of all of the Feedback created on files or of your Reviews. Track provides insight into outstanding or unresolved Feedback, and displays all Feedback for the workspaces to which you have access. Track helps you understand the status of your Reviews. To help manage your priorities, you can create custom views in the Track tab.
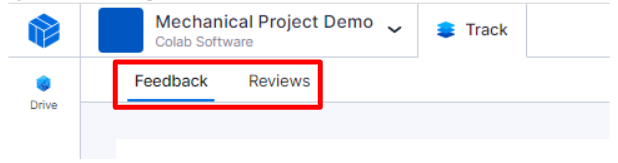
Depending on what you want oversight on in Track, select Feedback or Reviews in the Track tab.
You can create customizations using three options:
Option 1:
Here’s how to create a custom view for your Track table from the ground up:
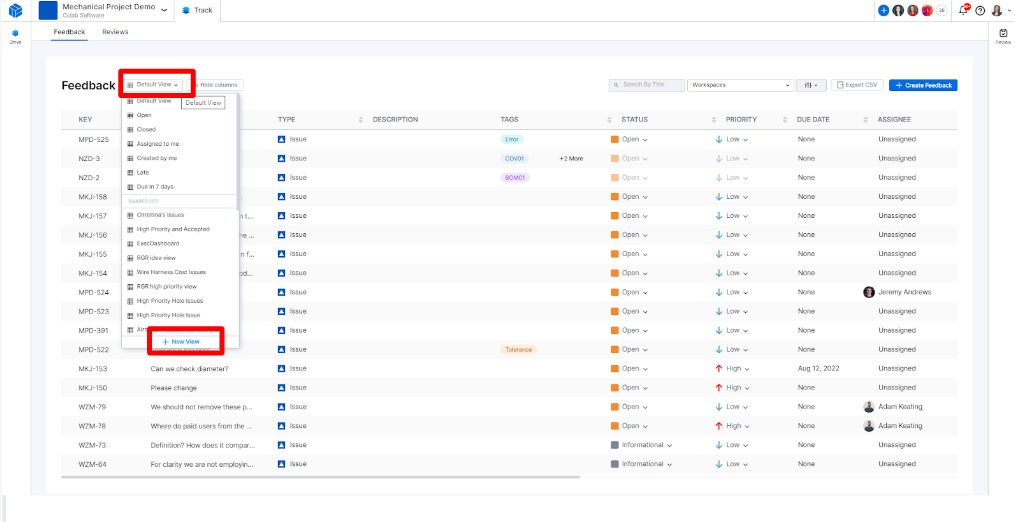
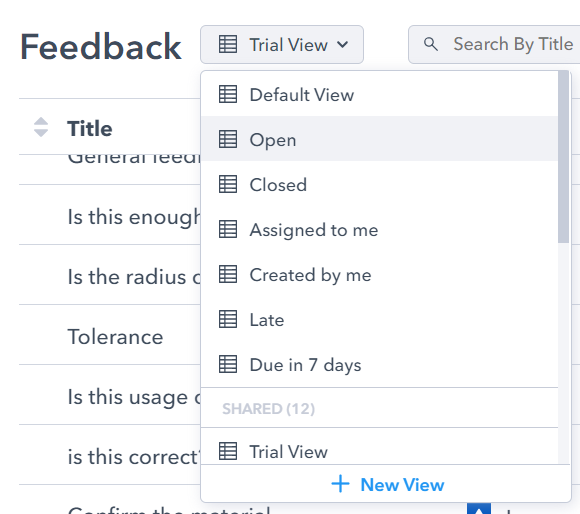
1. Click on the views dropdown list at the top of your Feedback or Reviews table (it may read ‘Default View’ at first, as shown below). Select the blue ‘+ New View’ button at the bottom of the dropdown to create a new view.
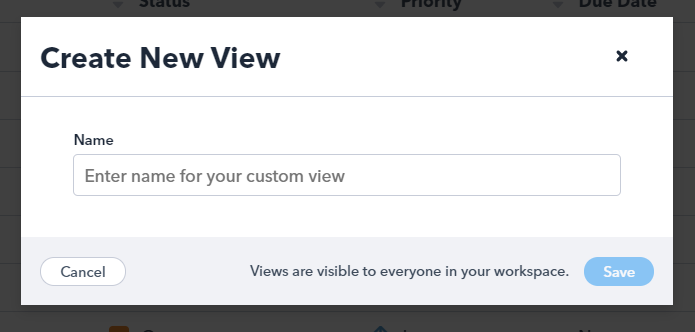
2. Name your custom view:
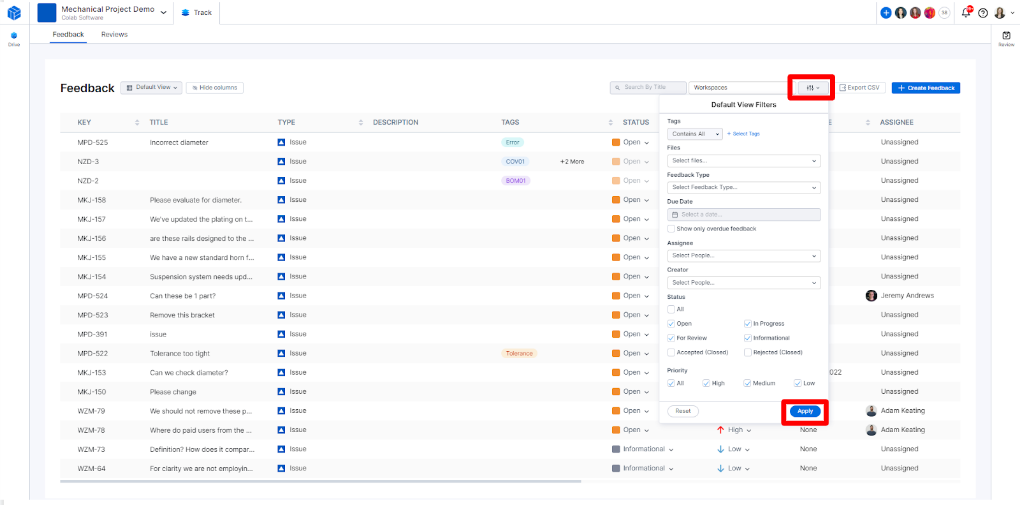
3. Click on the ‘Filters’ button found on the top right of the Reviews or Feedback table view. Select the filters that you wish to apply to your view. Once you’ve selected the filters, click ‘Apply.’ Review your new view to confirm it’s showing the correct data.
Once you’ve selected the filters, click ‘Apply.’ Review your new view to confirm it’s showing the correct data.
At any time, you can select this view or any other view from the views dropdown list. To edit your view, edit the filters of your view and a ‘Save Changes’ button will appear next to the view.

Option 2:
Here’s how to create a custom view for your Track table using a canned CoLab view:
1. Select your desired canned view from the options in the view dropdown
2. Use the Filters button to update the filters.
3. A ‘Save View’ button will appear next to the views dropdown. Click that to save your new view!

Option 3:
Use Track table customization options to focus on what you really need to see. You can:
Note that your selections here will be remembered for any view you use.